Displaying Google Maps in List Rows
Description
You can add a static google map to each row in a list that is generated from geographic information in a database.
For a demonstration on how to add a static google map to each row of a list watch this video or follow the guide below. When using google maps it is often necessary to add a Google Map API key using Google's website, otherwise you might see this error message.
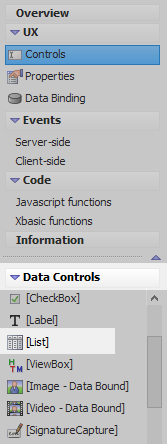
In the UX Builder on the UX Controls page open the 'Data Controls' menu. Click on the [List] option to add a list control to the component.
Highlight the List control in the control tree. In the properties section on the right click on the 'List properties' property in the 'List Properties' section. The List Builder will open.

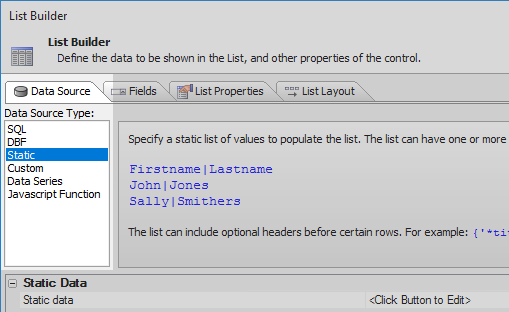
Open the List Builder's Data Source pane. In the 'Data Source Type' menu select 'Static'.
In the Data Source pane's properties list click on the
 button next to the 'Static data' property.
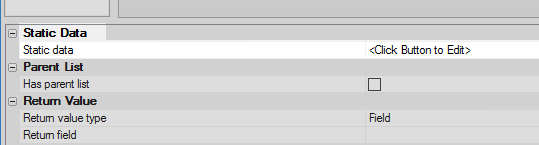
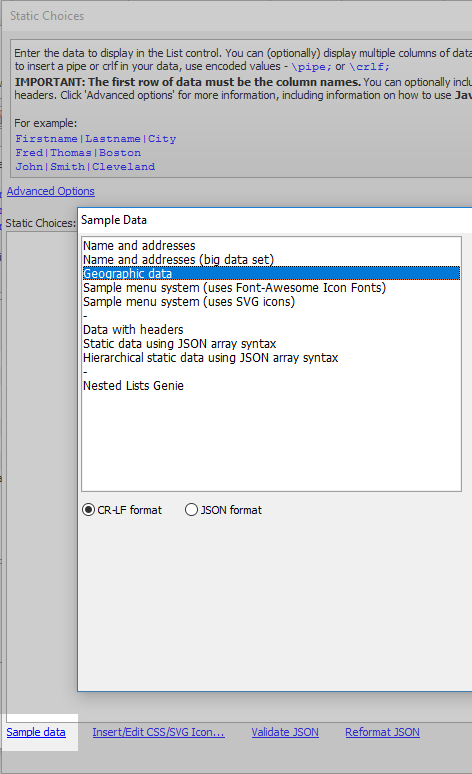
In the Static Choices dialog click on the 'Sample data' button. In the 'Sample Data' dialog select the 'Geographic data' and click OK.
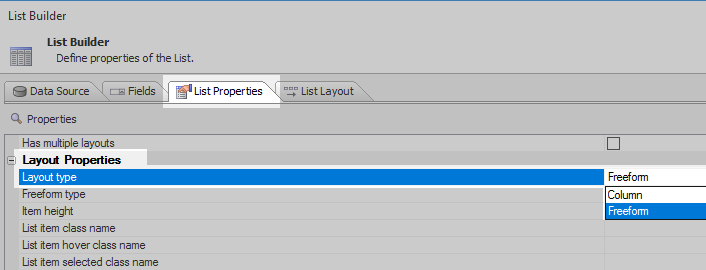
Open the 'List Properties' pane. Scroll down to the 'Layout Properties' section. Click the dropdown next to the 'Layout type' property and select the 'Freeform' option.
Open the 'List Layout' pane. Add the following code to the 'Template' section of the pane:
{name} {city} {state} <img style="float:right; " src="{@A5.map.staticMap(\{width: 200,height: 200,markers: [ \{location: latitude + ',' + longitude \}], zoom: 10 \})}" />
<br style="clear:both;">
This template contains the name, city, and state fields as well as an image field created from an html image tag. The image tag's 'style' setting floats the image to the right in the list control. The image 'source' or 'src' setting uses a template function. The '@' sign in this template function specifies that the template will use a javascript function to return the value to be rendered. Inside the function the details that will determine how the map will render are passed in using a JSON object. Because the template function is already inside a set of curly brackets '{ }' the curly brackets that contain the JSON object must be escaped using a backslash. The 'markers' property places an indicator at the specific latitude and longitude read from the static data fields.
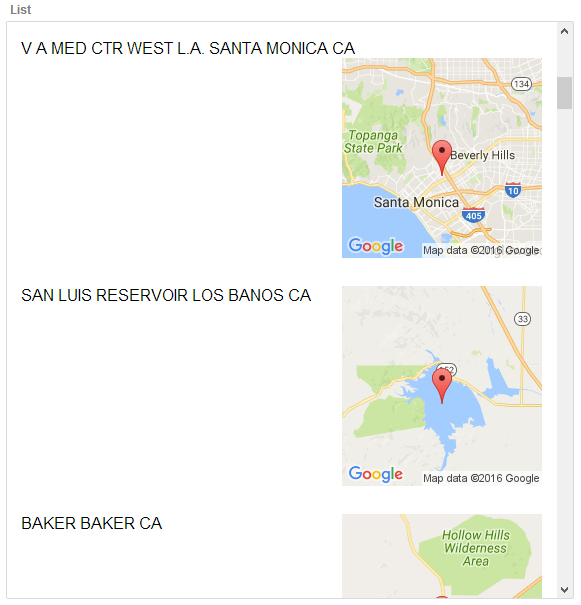
Click OK to close the List Builder and run the component in Working Preview. You should see a map displayed for each row in the list.
You might note that the Static Maps do not work in Live Preview. This is because Google requires a Google Map API key for Static Maps. Once you have an API key you can attach it to the HTML template on the List Layout pane of the List Builder using '&key='. The result should look like this:
{name} {city} {state} <img style="float:right; " src="{@A5.map.staticMap(\{width: 200,height: 200,markers: [ \{location: latitude + ',' + longitude \}], zoom: 10 \})}&key=PasteYourGoogleMapsAPIKeyhere" />
<br style="clear:both;">